


Prototyping 101: Turning Your Million-Dollar Idea Into Something You Can Actually Touch (Without Breaking the Bank)
You have a brilliant idea. It will change how people use your product. That is fantastic! But before you picture yourself on the cover of *Forbes*, you face a hurdle: making that idea real. Prototyping is key, and it’s manageable. Let’s dive in.
From Brainwave to Blueprint: Creating Your First Prototype
Every invention starts as a doodle. Maybe now it’s a frantic note on your app. Congrats, that sketch is a major step! Get your idea out. You need something visual. It does not need to be pretty. It just needs to exist.
Next step: drop the napkin (unless it’s fancy) and try digital prototyping tools. Use software to build a virtual model of your product. Imagine playing a game, but for your business. Many options exist, from simple drag-and-drop tools to advanced CAD software. Choose one that fits your skills and start building.
Feeling more hands-on? Let’s discuss 3D printing. You can print a physical version of your digital model for a small cost. It won’t be the final product, but it’s a great way to feel the size and shape. Plus, it’s exciting to hold something you designed.
Need to test core functionality without constructing the whole product? Look to the Minimum Viable Product (MVP). This version performs essential functions without the extras. Think of it as your product’s trailer – it gives a taste without revealing all details.
If all of this feels like assembling IKEA furniture without instructions, don’t hesitate to outsource. Experts exist who specialize in prototyping. Product development firms and freelance engineers can transform sketches into a genuine prototype. It costs money, but it’s an investment in smooth sailing.
Need a Prototype Whisperer? Finding the Right Help
Outsourcing sounds appealing, but where do you find prototype wizards? Start with a pattern maker or model maker. They take designs and create physical items, especially in fields like fashion or product design. They are the original prototypers.
Stuck in the digital age? No problem. Use online directories. They act like the Yellow Pages, without being physical books. Business-to-business directories like Thomasnet help you find manufacturers and prototyping services. Prepare to search.
But wait, there’s more! Consider these options: 3D printing services, product development companies, machine shops, and engineering firms. Choose what fits your product needs and budget. It’s like selecting pizza toppings – many choices available.
Show Me the Money (But Not Too Much): Understanding Prototyping Costs
Now, let’s discuss costs. Prototyping isn’t free. Costs range from $100 to over $30,000. Why such a range? Complexity matters. A simple prototype costs less than a complex gadget with custom parts. Consider a paperclip versus a rocket.
Let’s break down costs by stage. Concept Design (Stage 1) focuses on user experience and can start at $1,000. This involves wireframes and basic simulations. Design Engineering (Stage 2) dives into detailed engineering and more advanced prototypes starting around $5,000.
If you use rapid prototyping with 3D printing, you might pay $50 to a few hundred dollars for one object. Vacuum casting offers higher quality prototypes, costing from a few hundred to over a thousand dollars, especially for silicone mold creation. It’s all relative.
The average prototyping costs range from $3,000 to $10,000. Keep in mind, this is an average. Final costs depend on product complexity and the number of iterations. More refining means higher costs, just like dating – more dates lead to bigger bills.
Patience, Young Padawan: Prototyping Timeline
You’re ready to prototype. Great! But do not expect overnight results. Prototyping can take 1 to 2 months. Yes, months. This period covers design, building, testing, and necessary adjustments.
If you rely heavily on 3D printing, individual parts can print faster. A single component may take hours or a few days. Remember, prototyping isn’t just about printing. Assembling, testing, and iterating takes time. Do not rush this process.
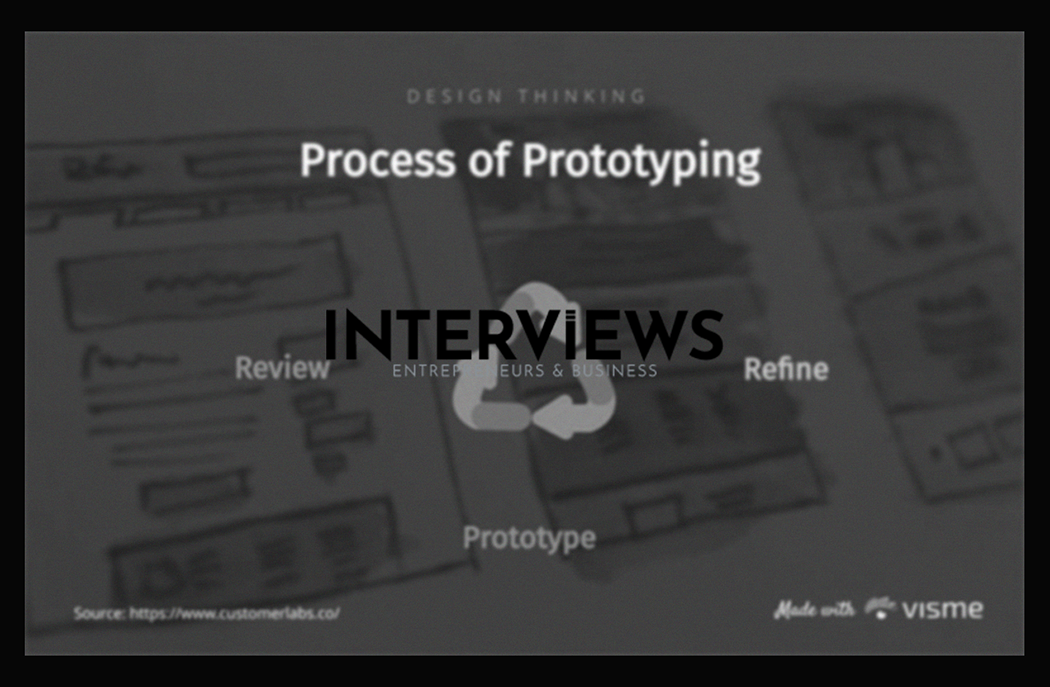
Low, Medium, High: The Fidelity Spectrum of Prototypes
Prototypes are not one-size-fits-all. They have different types: low fidelity, medium fidelity, and high fidelity. Think of it as a spectrum.
Low-fidelity prototypes are quick models. Use paper mockups, cardboard cutouts, or simple sketches. They are cheap and fast, perfect for testing concepts and flows. They resemble stick figures.
Medium-fidelity prototypes are more refined and interactive. Built digitally, they simulate user interface and some functionality. These wireframes click and navigate, testing usability without heavy investment.
High-fidelity prototypes come closest to the final product before production. They look and function similarly to the real product, often with working features. These prototypes are for final user testing and investor demos.
Prototyping on a Shoestring: Budget-Friendly Materials
Prototyping doesn’t have to drain your funds like a Bitcoin crash. Many affordable materials exist, especially for early low-fidelity prototypes.
Cardboard is invaluable. It is cheap and versatile. Need to mock up shapes? Cardboard works. Creating a user interface panel? Use cardboard. Need a fort for design contemplation? Cardboard again!
Foam board is another lightweight choice. It offers more rigidity than cardboard, making it good for refined prototypes.
Visual prototypes include presentation boards, architectural models, and product casings.
PVC pipes can be great for prototyping. They work well for frameworks and structures needing support. Use them for product stands, skeletal structures, and innovative gadgets.
Don’t overlook clay. It’s affordable, moldable, and ideal for organic shapes and ergonomic testing. It’s useful for handles, buttons, and anything requiring a comfy grip.
Check your recycling bin for recycled items. Old electronics, packaging, and various bits can enhance your prototypes. Use buttons from remotes, wires from broken devices, and containers for housings. Get creative. Your trash may serve as prototyping treasure.
Patent Pending (Maybe): Does a Prototype Guarantee a Patent?
Quick myth-busting: Do you *need* a prototype to patent? Nope. The answer is “no.” You can file a patent application with the U.S. Patent Office without building a physical prototype. Relief, right?
However, you can’t patent an idea alone. You need an invention to patent. For that, prepare a tangible realization or clear description of its functionality. Show you’ve considered it beyond just “it’s a cool idea.” Your application must describe the invention so someone skilled could build it. This is the difference between stating “I want to fly” and presenting airplane blueprints.
From Idea to “Eureka!”: The 7 Steps to Prototype Success
How do you transform your great idea into a prototype? Follow this 7-step guide:
- Conduct Research: Start with homework. Know your market, users, and existing solutions. Don’t reinvent the wheel unless you can improve it significantly (check if someone else has already done this).
- Draw a Design: Sketch your product from different perspectives. Focus on key features and functionality. Perfection isn’t needed; just get the core vision out.
- Develop a Virtual Model: Turn your sketches into a digital 3D model. Visualize your product in detail, explore design options, and prepare for 3D printing or simulations.
- Determine if Assistance is Required: Assess your skills honestly. Can you build the prototype alone, or do you need help? You can manage a cardboard mockup, but a robotic arm may require professionals.
- Test Product Functionality: Critical step. Does your prototype function as intended? Test its core features, find flaws, and adjust based on results. Prototypes should be tested and broken (hopefully not literally).
- Demonstrate Product to Investors: A prototype beats a thousand pitch decks. A tangible version shows investors your idea is real and gives them something to evaluate beyond your words.
- Determine Product Usefulness: Ultimately, assess if your product solves a problem and if people want it. Prototyping offers reality checks to separate million-dollar ideas from others. It also highlights proper materials for final products by testing during prototyping.
Loose Lips Sink Prototypes: Protecting Your Idea
Sharing your idea is exciting yet risky. Protect your creation before it’s patented and ready for the world.

Non-Disclosure Agreements (NDAs) serve as your defense. You can sell an idea without a patent, but *always* secure an NDA before sharing details. This legal document states, “I’m sharing my secret, and you promise not to steal it.” It’s not foolproof but is essential for protecting your intellectual property.
Document everything. Keep detailed records throughout your invention process. Track everything from sketches to meeting notes to test results. Dated documentation is invaluable for proving your invention timeline, especially for patent purposes.
During pitches, focus on confidentiality and protection. Be selective about who you share your ideas with and emphasize confidentiality. Avoid broadcasting innovations on social media until protected. Think of a “need-to-know” basis and view others as potential idea thieves until proven innocent (cynical but safer).
From Prototype to Product: Manufacturing Your Masterpiece
Your prototype is a success! Investors are impressed, users want it, and you’re ready to make it. Now begins manufacturing!
First, document your idea in detail. This goes beyond initial sketches. Prepare specifications, technical drawings, material lists, and everything a manufacturer needs. Be specific; vague instructions lead to vague results (and costly errors).
Next, source manufacturers and suppliers. Depending on your product, find factories or raw material suppliers. Use online directories like ThomasNet, Maker’s Row, and MFG to start finding partners. Research their credentials and seek recommendations. Choose someone reputable.
Once you have potential manufacturers, get bids and agree on terms. Share product specifications and request quotes. Compare bids and negotiate, ensuring all terms are clear in a contract before moving forward. Don’t just choose the cheapest option; consider quality and communication too.
Finally, manufacture your product! Once a manufacturer is chosen and terms set, production starts. Stay in close communication during the process, monitor quality control, and be ready to troubleshoot issues. Manufacturing rarely goes perfectly; patience and flexibility are essential.
The Hallmarks of a Great Prototype: What to Aim For
What distinguishes a *good* prototype from just… a prototype? Here are essential qualities:
- A rudimentary representation of the actual product. It needn’t be perfect but should reflect the essence of the final product’s form and function. Think “close enough for jazz.”
- The look, feel, and functionalities should resemble the final design. The more like the real thing your prototype is, the more accurate feedback will be. Aim for a prototype giving realistic insights into the final product experience.
- A good prototype tests a maximum of three (ideally one) specific hypotheses. Avoid testing everything at once. Concentrate on key functions or design elements requiring validation. A prototype isn’t a laundry list.
- It demonstrates real-world functionality. Does it work in its intended context? Does it truly solve the intended problem? A good prototype answers these questions.
- It shows how the product interacts with other pieces. If part of a larger system, the prototype demonstrates how it integrates with other components. Think of it as a puzzle piece – does it fit?
Prototyping Pitfalls: What Prototypes Should *NOT* Be
A quick caution: Prototypes should NOT be Minimum Viable Products (MVPs). We previously discussed MVPs within prototyping *functionality*, but a prototype…
A prototype is not a market-ready product. It is for testing and learning. An MVP is for launching and iterating. They serve different purposes. They have different levels of polish and completeness. Don’t confuse them. Selling a prototype as an MVP is like selling a rough draft as a novel. It won’t go well.
Finding Your Manufacturing Match: Securing a Company to Build Your Dreams
You are ready to move to full-scale production. Great! Finding the right manufacturing partner is crucial. It can feel like navigating a jungle. Here are steps to increase your success:
- Define your product and requirements: This is key. Be clear about your product specifications, quality standards, production volumes, and deadlines. A clear picture helps you find the right manufacturer.
- Research potential manufacturers: Start online with directories like ThomasNet, Maker’s Row, MFG, Kompass, and Oberlo. Filter manufacturers by industry and capabilities. Think of it as online dating for your product and its partner.
- Evaluate manufacturer profiles: After identifying potential manufacturers, dig deep. Check their websites and read reviews. Look for case studies or testimonials. Also, look for spelling errors. Sloppy communication is a red flag.
- Contact manufacturers and request quotes: Reach out to shortlisted manufacturers with specific questions. Ask about their capabilities, capacity, quality control, and pricing. Your first contact should be direct. Show you are serious. Ask tough questions.
- Key considerations: When evaluating manufacturers, think about these factors: Location (domestic vs. overseas), capacity (can they handle your volume?), quality control (how do they ensure it?), communication (are they responsive?).
Prototyping may seem daunting but it is crucial. It shapes your vision, tests your assumptions, and offers invaluable lessons. Embrace the process. Get your hands dirty, even if it’s virtually through modeling. Turn your million-dollar idea into reality, or at least a solid prototype.